
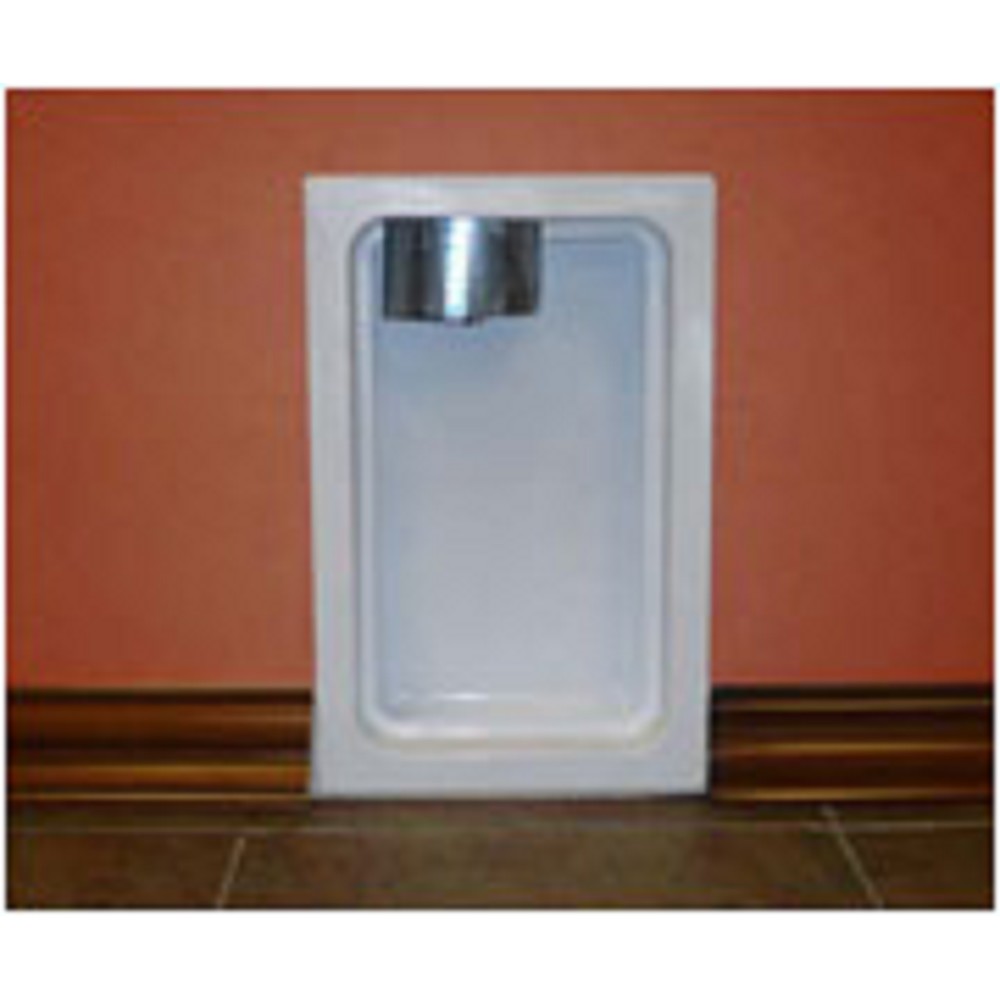
Installing a metal dryer box is a crucial step in optimizing the efficiency and safety of a home’s laundry system. These boxes are designed to provide a recessed space for the dryer duct connection, ensuring a cleaner installation and reducing the risk of fire hazards associated with lint accumulation. This guide provides a comprehensive overview of installing a metal dryer box, offering practical insights for homeowners and professionals alike. Whether you are embarking on a new construction project or upgrading your existing laundry setup, understanding the nuances of dryer box installation is vital. Discover expert strategies here.
Why Choose a Metal Dryer Box?
Metal dryer boxes are preferred for several reasons:
- Fire Safety: Metal construction helps prevent fires by reducing lint buildup and facilitating better airflow.
- Durability: They offer enhanced durability compared to plastic alternatives, resisting damage over time.
- Space Efficiency: Metal dryer boxes allow for closer placement of the dryer to the wall, conserving valuable space in tight laundry areas.
To delve deeper into the benefits of metal dryer boxes, learn about our tailored solutions.
Materials and Tools Required
Before commencing the installation, gather the necessary materials and tools:
- Metal dryer box
- Screwdriver or drill
- Measuring tape
- Level
- Drywall saw
- Metal snips (if adjustments are needed)
- Safety goggles and gloves
Having these tools and materials on hand will ensure a smooth installation process. For more detailed guidance, explore advanced guides and tips.
Step-by-Step Installation Process
Step 1: Planning the Installation
Begin by planning the installation location. Consider the following:
- Ensure there’s enough space behind the dryer to accommodate the box.
- Plan for an unobstructed path for the dryer vent to exit the building.
- Ensure the location meets building codes and safety regulations.
Step 2: Marking and Cutting the Wall
Use a measuring tape to mark the desired location on the wall. With a level, draw a square or rectangular outline. Carefully cut along the lines with a drywall saw. It’s crucial to wear safety goggles and gloves during this step.
Step 3: Installing the Metal Dryer Box
Slide the metal dryer box into the opening, ensuring it fits snugly. Use a screwdriver or drill to secure it to the wall studs. Check for level alignment and adjust as necessary. For more on adjusting installations, find out more about this approach.
Step 4: Connecting the Duct
Attach the dryer duct to the metal box’s outlet. Ensure the connection is tight to prevent air leaks. Use metal snips for any necessary adjustments to the duct length. Secure the duct with metal clamps for added stability.
Final Considerations
After installation, conduct a thorough inspection:
- Verify all connections are secure and airtight.
- Run the dryer to check for effective airflow and ensure there are no obstructions.
- Regularly clean the dryer vent to maintain optimal performance and safety.
For ongoing maintenance tips and best practices, explore advanced guides and tips.
Installing a metal dryer box is a valuable investment in the safety and efficiency of a home’s laundry system. By following these steps, homeowners and professionals can ensure a successful installation. For further resources and comprehensive installation strategies, discover expert strategies here.
