
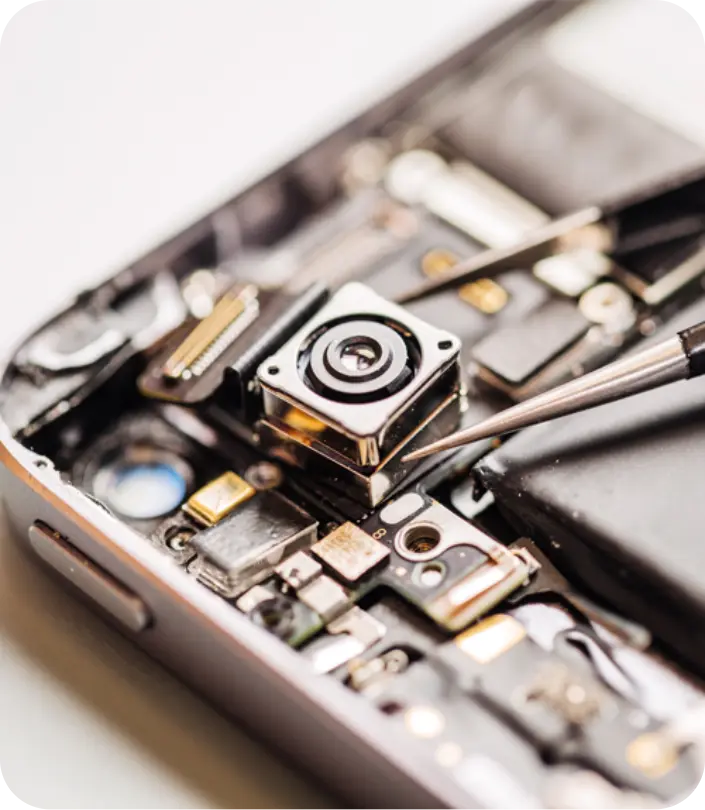
Smartphones have become an integral part of daily life, offering seamless communication, entertainment, and productivity. However, when issues arise, the disruption can be significant. While professional repair services provide expertise and convenience, there are situations where do-it-yourself (DIY) repairs might be a practical alternative. This guide explores some of the common problems iPhone users face and provides a comprehensive overview of how to tackle these issues at home, ensuring both efficiency and safety.
Understanding Common iPhone Issues
Before embarking on any iphone phone repair, it’s crucial to understand the common problems that iPhone users typically encounter. Some of these issues include:
- Cracked screens
- Unresponsive touchscreens
- Battery performance issues
- Water damage
- Audio problems
Essential Tools for DIY iPhone Repair
Having the right tools is essential for any successful DIY repair. Investing in quality tools will not only make the repair process more manageable but also prevent further damage to the device. Essential tools include:
- Pentalobe screwdriver
- Suction handle
- Plastic spudger
- Precision tweezers
- Adhesive strips
Step-by-Step Guide to Replacing a Cracked Screen
One of the most common repairs is screen replacement. Follow these steps to replace a cracked screen safely:
1. Preparation
Ensure the phone is powered off before starting. Use the pentalobe screwdriver to remove the screws near the charging port.
2. Screen Removal
Attach the suction handle near the bottom edge of the phone to lift the screen slightly. Use the plastic spudger to gently pry the screen away from the body.
3. Disconnecting Cables
Carefully open the phone like a book and locate the cables connecting the screen to the motherboard. Use the tweezers to disconnect these cables carefully.
4. Installing the New Screen
Connect the new screen’s cables to the motherboard. Ensure they are securely fastened before closing the phone.
5. Reassembly
Gently press the new screen into place and replace the screws. Power on the device to test the new screen functionality.
Safety Tips for DIY Repairs
Safety should always be a priority when undertaking any repair. Consider these tips to ensure your safety:
- Always power off the device before starting any repair.
- Wear anti-static wristbands to prevent static damage.
- Work in a clean, organized space to avoid losing small parts.
- Consult expert resources or guides if unsure about any step.
When to Seek Professional Help
While DIY repairs can be rewarding, some issues may require professional attention. Consider seeking expert services for:
- Complex internal damages
- Persistent issues even after repair attempts
- Warranty-covered repairs
For those situations, consider exploring professional iphone repair services to ensure a comprehensive and reliable solution.
Conclusion
DIY iPhone repair can be both a cost-effective and satisfying endeavor when approached with the right knowledge and tools. Understand the risks, follow detailed guides, and don’t hesitate to seek professional help when necessary to maintain your device’s performance and longevity.
